SQL Server Installation
Install SQL Server
The following steps document installation of Microsoft SQL Express 2017. Other versions of MSSQL are supported for use, but verify alternate choices with MEDIAL support. Databases from vendors other than Microsoft are not supported.
To install SQL Server:
- Download the version of SQL Server you intend to use. The free Microsoft SQL Express with Tools is available at https://www.microsoft.com/en-us/download/details.aspx?id=55994.
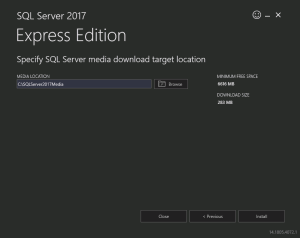
- Open the package to begin the installation. It will ask for a download location to download the installation files to. Change this if desired and click Next.
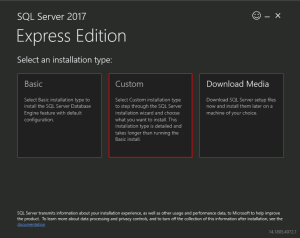
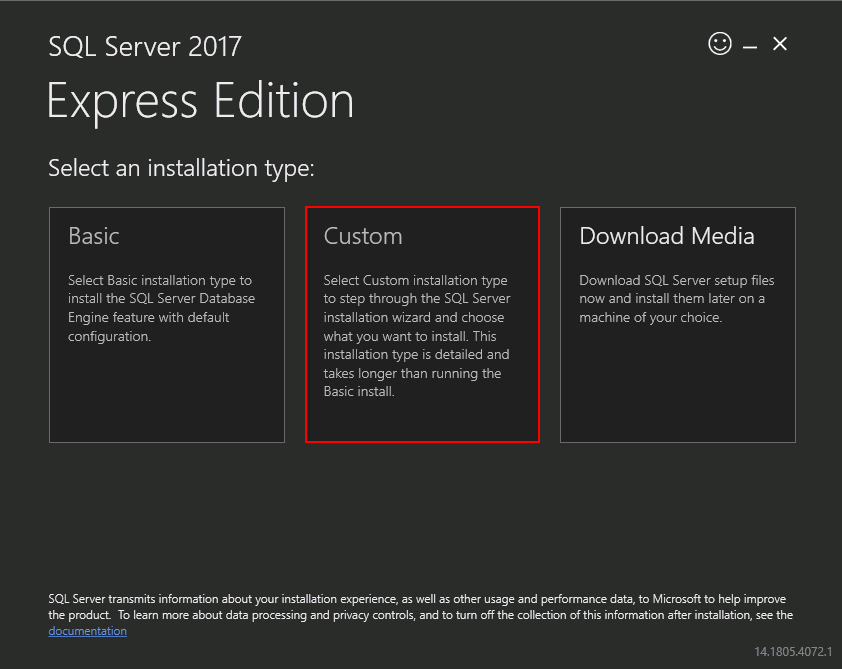
- On the Installation Type screen, select Custom.
-
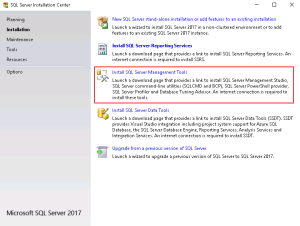
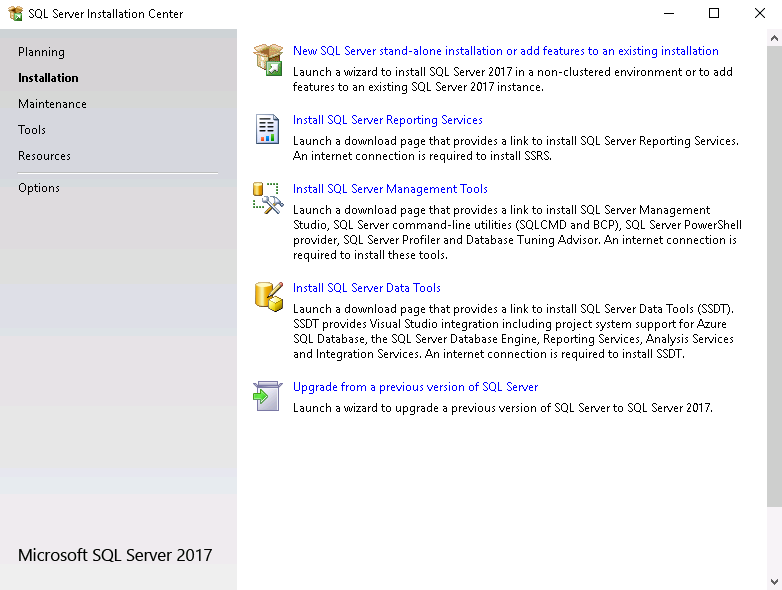
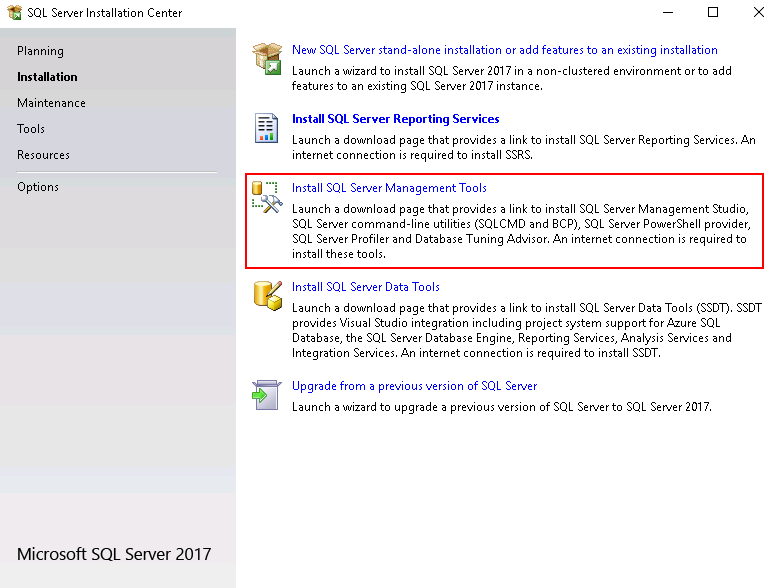
At the SQL Server Installation Center screen, click New SQL Server stand-alone installation or add features to an existing installation.

-
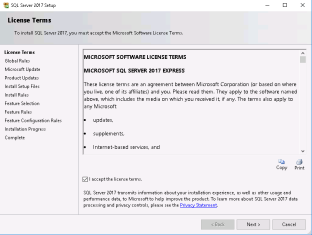
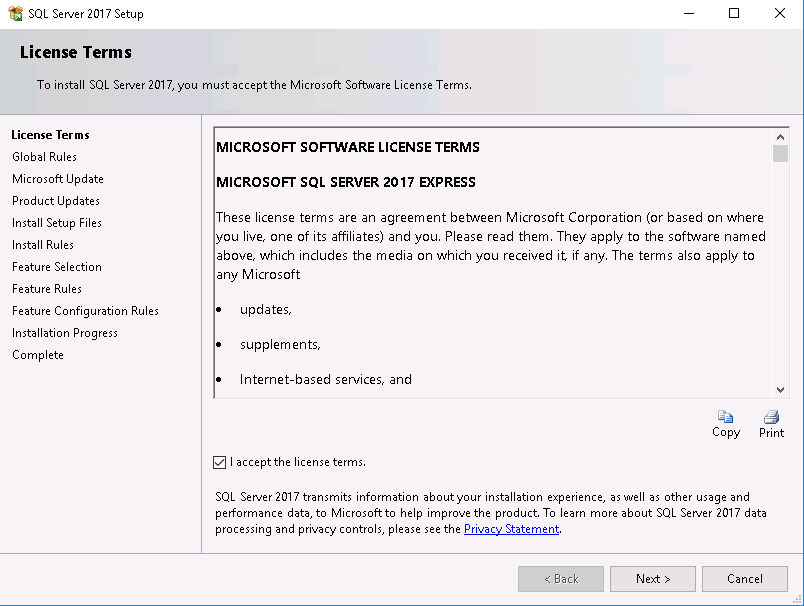
Agree to the license terms and click Next.
-
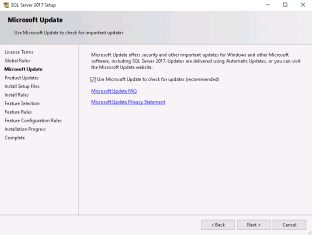
Check Use Microsoft Update to check for updates and click Next.
- Click Next on the Install Rules screen. Address any issues as necessary.
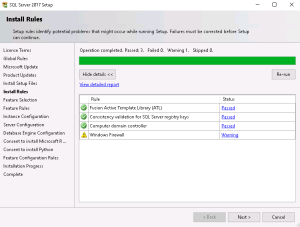
-
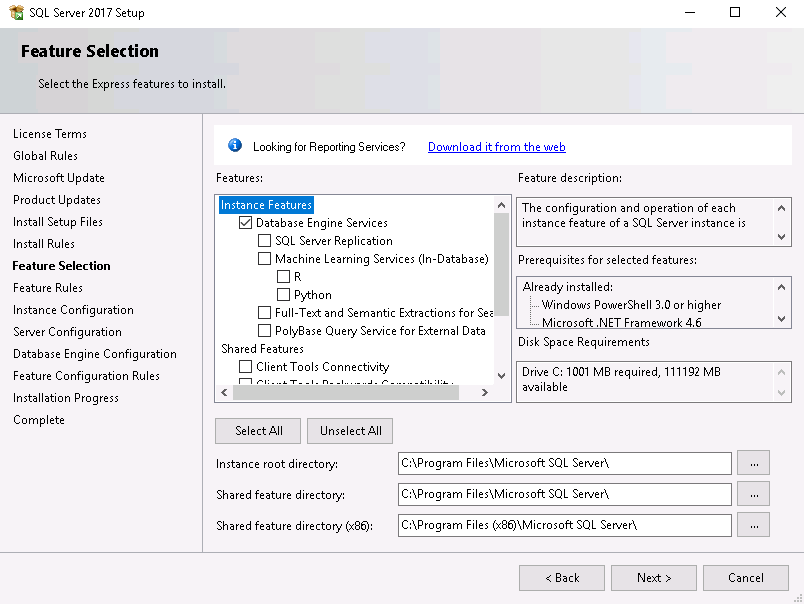
The Feature Selection screen displays next.

-
On this screen, check the following options:
- Database Engine Services
- Client Tools Backwards Compatibility (optional - useful for importing databases from older version of SQL)
- At the bottom of the features screen, change the installation directories as required and click Next.
-
-
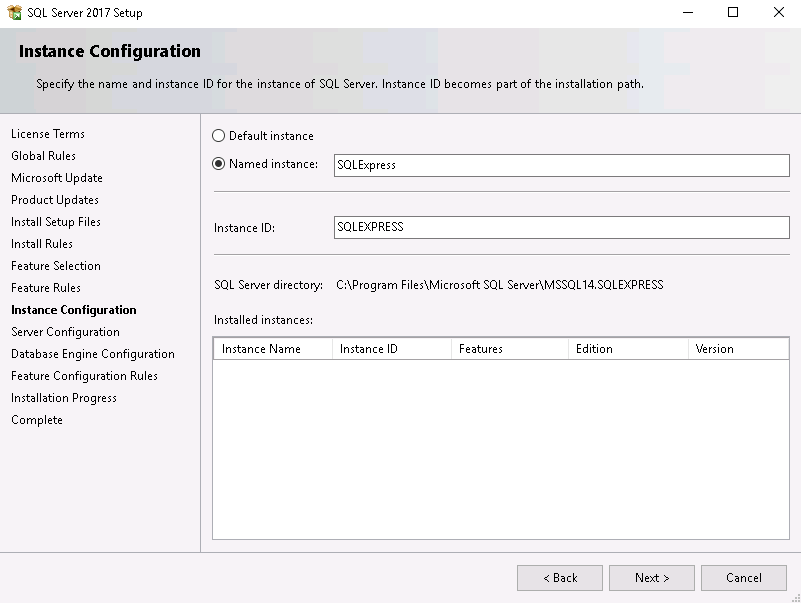
Name the SQL instance or leave it set to the default. Click Next.
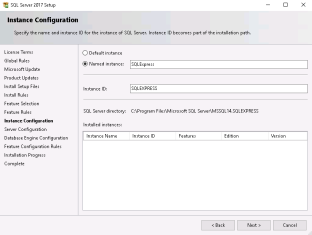
-
Click Next on the Server Configuration screen.
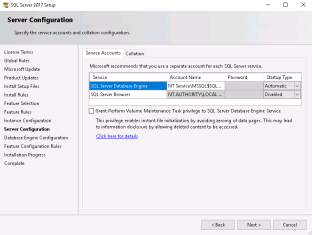
-
On the Database Engine Configuration screen, select Mixed Mode and provide a password in the boxes. Click Next.
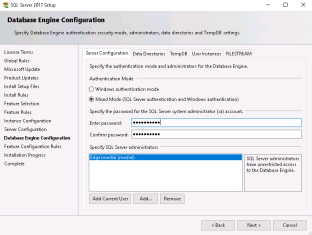
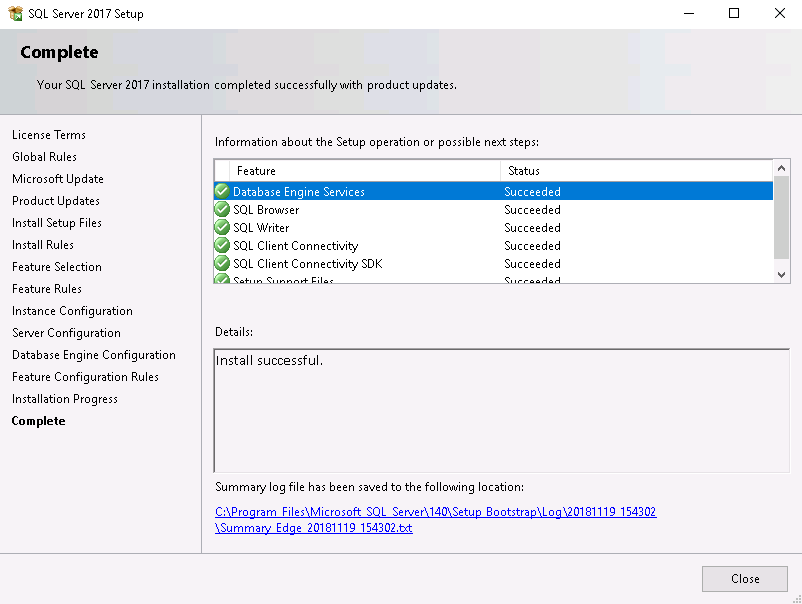
-
Once the installation is complete, click Close to exit.

- Back on the SQL Server Installation Center screen, click on Install SQL Server Management Tools.
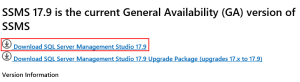
- On the download page that opens, click on Download SQL Server Management Studio to download it.
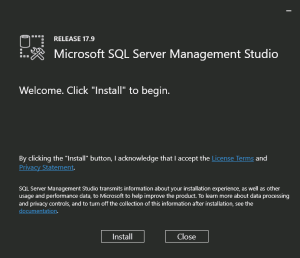
- When the file has downloaded run it to begin the install. Click Next on the Welcome screen.
- Let the install complete, and click Finish to close the window.


Configure SQL Connections
Once SQL Server has been installed, you need to configure it to allow connections from MEDIAL.
- Click the Windows icon on the desktop—
 .
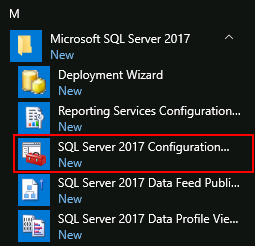
. - Type SQL Configuration.
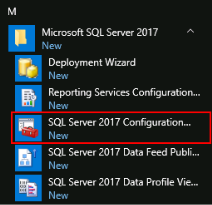
-
Choose SQL Server 2017 Configuration Manager when it appears.
-
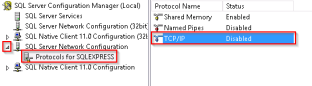
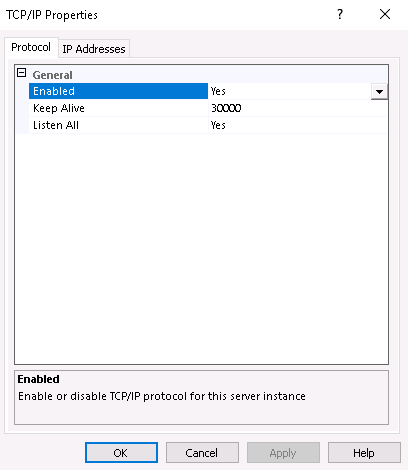
When the configuration manager opens, expand SQL Server Network Configuration and choose Protocols for SQLEXPRESS (or the name of the SQL instance if not the default). Double-click on TCP/IP on the right side of the window.
-
In the box that appears, change the status to enabled by selecting Yes in the drop-down box. Then click the IP Addresses tab.

-
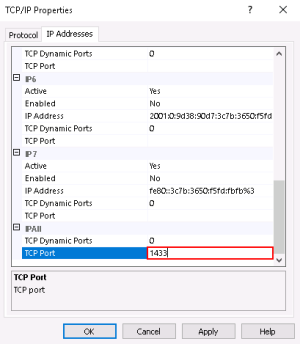
Locate the IP addresses that the MEDIAL websites use and change the Enabled value to Yes using the drop-down box. Scroll to the bottom of the window.

-
The last value is the port that will be used to accept incoming connections. Use the standard SQL port value 1433. Click OK to save the changes and close the window.
-
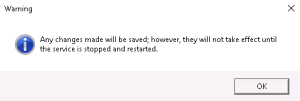
A warning advises that the changes will not take effect until the SQL Server service is restarted. Click OK.
-
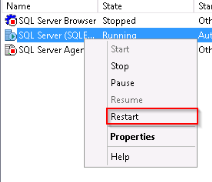
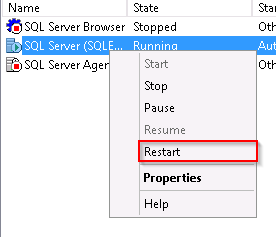
In SQL Server Configuration Manager, click SQL Server Services.

-
In the right-hand pane, right-click the SQL Server server and choose Restart.
- Close SQL Server Configuration Manager.


|
©2025 Streaming Ltd | |