Wowza Installation
Install Wowza
With the JRE installed, you can install the Wowza Media Server.
To install Wowza Media Server:
- Download the install from the Wowza web site. Running the media server also requires a license key issued by Wowza. Once you have the necessary components, run the installer.
-
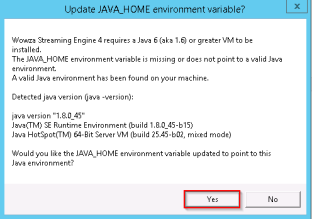
A message may be presented asking for the JAVA_HOME environment variable to be pointed to a valid Java environment. If this occurs, click Yes to set it to the Java runtime environment you installed.
-
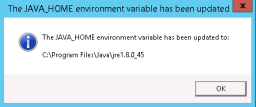
Click OK at the notification.
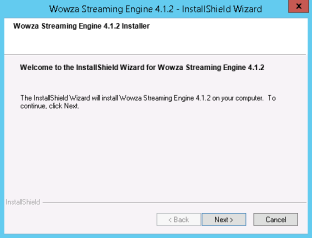
- At the welcome screen click Next.
-
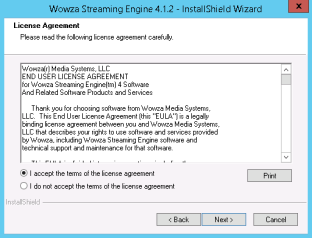
Agree to the license and click Next.
-
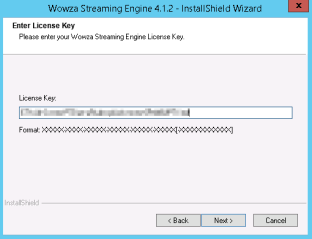
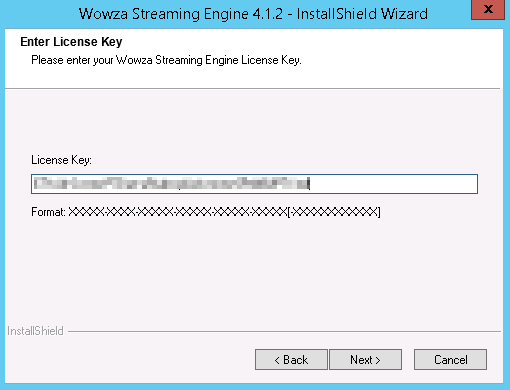
Enter your license key and click Next.
-
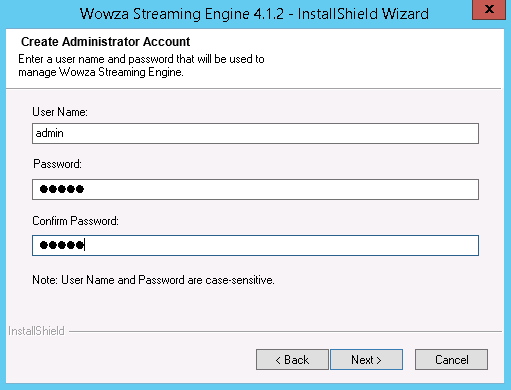
Provide a username and password for the Wowza administrator console. Confirm the password and click Next.

-
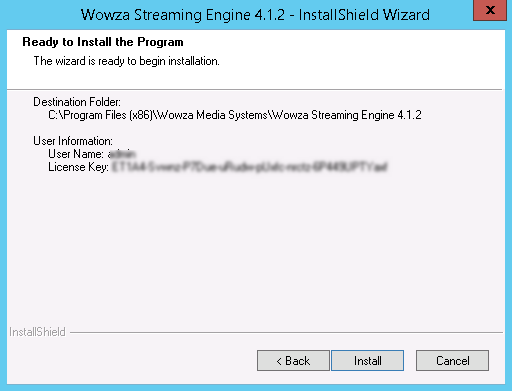
Accept the default installation directory or change it to a different location. Click Next.

-
Click Install to install Wowza Media Server.

-
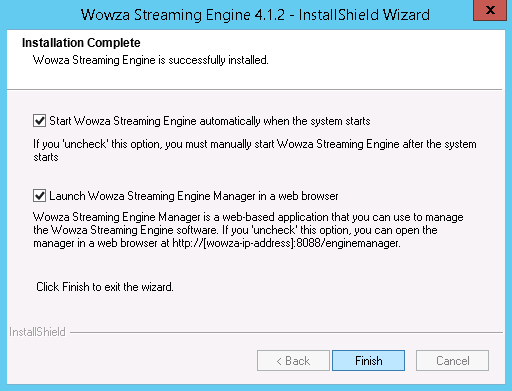
Leave the first box checked to start the Wowza Media Server service once the window closes. Uncheck Launch Wowza Streaming Engine Manager in a web browser. Click Finish.


Before launching the Wowza Media Server, you will need to configure it as explained in a subsequent topic. Carry out the configuration after you install or upgrade MEDIAL.
Configure SSL for Wowza
So that Wowza can deliver content over port 443, a certificate is required for the streaming host name. For example, if the playback URL for MEDIAL is stream.institution.com then there should be a certificate for this host name.
The following instructions cover how to convert and import an existing SSL certificate. For information on how to use the Java keytool to create and complete a new certificate request, please see the following instructions: Create a keystore (.JKS) and certificate signing request (.CSR).
- Locate the certificate .pfx file (i.e. stream.domain.com.pfx) and copy it into a directory on the server.
-
Download a tool called KeyStore Explorer. The official site for KeyStore Explorer is http://keystore-explorer.org/.
Ensure the official site is used for the download of KeyTool explorer. Streaming Ltd accepts no liability for the download and or installation of any third party applications.
-
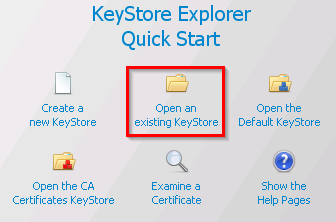
Install KeyTool Explorer to the desired location and then open the application. Close the Tip of the Day box and then click the Open an existing KeyStore button.
- Locate the certificate .pfx file copied to the server previously, select it and click Open.
- Enter the password for the certificate at the prompt and click OK.
-
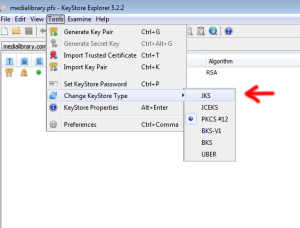
Select the certificate by clicking it once, and then click on Tools, Change KeyStore Type and then choose JKS.
-
Ensuring that the certificate is still highlighted, click on File, and Save As. In the window that opens, navigate to the Wowza [install-dir]/conf/ directory, then change the Save as type drop-down box to KeyStore Files, and give the file a friendly name, using the .jks file extension, as in mycertificate.jks.


Configure a <HostPort> to use the certificate
Depending on whether you want to configure Wowza to stream securely over port 443 or 8080, the host port needs to be configured accordingly.
-
Open the [install-dir]/conf/VHost.xml file in a text editor in order to make the following changes:
-
Uncomment the <HostPort> definition for port 443. This entry follows the comment <!-- 443 with SSL -->. Be sure to remove the comment before <HostPort> and after </HostPort>.
The <Port>...</Port> section needs to contain either 443 or 8080 depending on how you want secure streaming to work. The recommended configuration is to use port 443.
-
Set the value SSLConfig/KeyStorePath to:
${com.wowza.wms.context.VHostConfigHome}/conf/ssl.mycompany.com.jks -
The following example shows what the <HostPort> section should look like for the <!-- 443 with SSL --> section.
<HostPort>
<Name>Default SSL Streaming</Name>
<Type>Streaming</Type>
<ProcessorCount>${com.wowza.wms.TuningAuto}</ProcessorCount>
    <IpAddress>192.168.1.10</IpAddress>
    <Port>443</Port>
    <HTTPIdent2Response></HTTPIdent2Response>
    <SSLConfig>
<KeyStorePath>${com.wowza.wms.context.VHostConfigHome}/conf/mycertificate.jks</KeyStorePath>
    <KeyStorePassword>password</KeyStorePassword>
    <KeyStoreType>JKS</KeyStoreType>
    <SSLProtocol>TLS</SSLProtocol>
    <Algorithm>SunX509</Algorithm>
    <CipherSuites></CipherSuites>
    <Protocols></Protocols>
-
- Set the SSLConfig/KeyStorePassword to the key store password entered earlier when creating the .jks file.
- Restart your Wowza Streaming Engine.
Securing Live Channels
So that live channels that have been created in MEDIAL can only be streamed at the time they are scheduled for, and only if they exist on the system, some additional configuration needs to be carried out on the Wowza Streaming Engine.
-
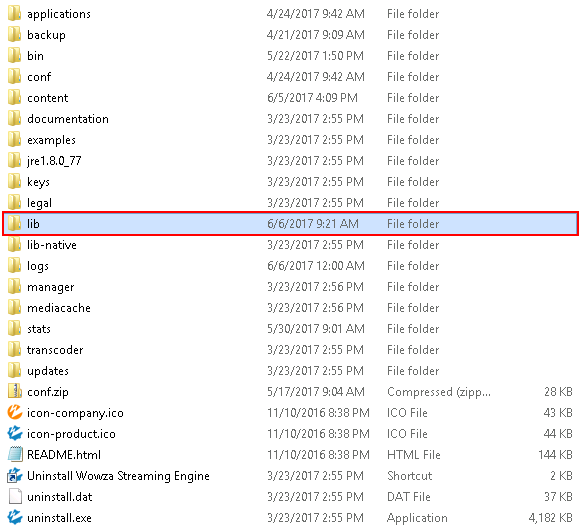
Download the JAR file below and put it into the [wowza root]\lib folder on your server:
http://dev.medialibrary.com/builds/MediaLibraryLiveIncoming.jar

-
Open the Application.xml file at the following location in Notepad:
[wowza]\conf\Application.xml -
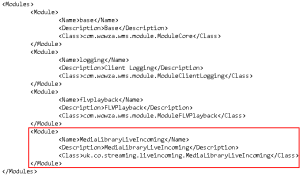
Copy the three lines below and paste them between the tags <Modules></Modules>.
<Module>
   <Name>MediaLibraryLiveIncoming</Name>
   <Description>MediaLibraryLiveIncoming</Description>
   <Class>uk.co.streaming.liveincoming.MediaLibraryLiveIncoming</Class>
</Module>
It will look like the following example:
-
Below the end <Modules> tag, paste the following text inside the <Properties></Properties> tags:
<Property> <Name>MedialPublishUrl</Name> <Value>http://my.server/wowza/PublishAuth</Value> </Property> -
Change upload.domain.com to the MEDIAL upload site domain name. It should look like the following example:

-
Open Services in Windows, then locate and restart the Wowza services.


|
©2025 Streaming Ltd | |