TechSmith Relay
The TechSmith Relay server also requires the Desktop Experience feature. Install the Desktop Experience feature through the Windows Server Manager under Features.
MEDIAL Server Configuration
The MEDIAL server needs to be configured so that it can accept recordings from the TechSmith Relay server. Additionally, the Camtasia folder in the media library content directory needs to be shared.
To set up sharing and security:
- An account needs to be created for the Relay server to access and deposit files in the Camtasia folder. You can either create one on the domain or create one locally as described here.
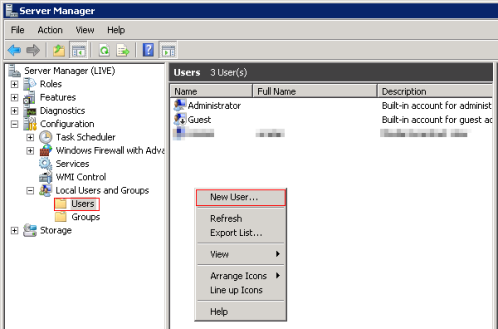
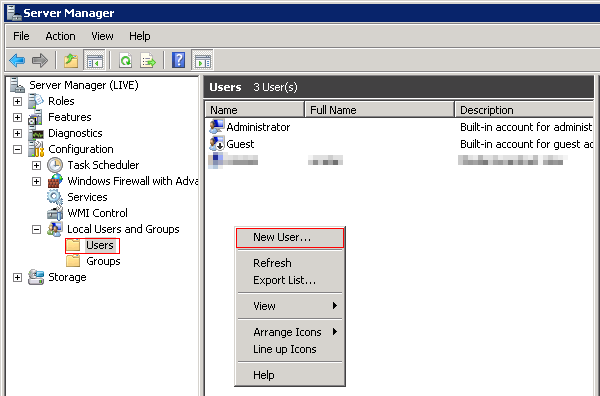
- To create an account locally, open Server Manager, expand Configuration, expand Local Users and Groups, and then click on the Users folder.
-
Right-click in the empty space in the right-hand side of the window and choose New User.
-
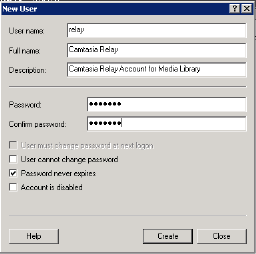
Provide information for the account and remove the check for User must change password at next logon. Check the box for Password never expires.
-
Close Server Manager and navigate to the Upload folder within the media library content directory. For example:
D:\HelixMediaLibraryContent\Upload\
- This folder should contain a camtasia folder. If this subfolder is not present, create one under this name.
-
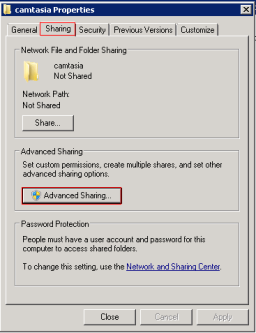
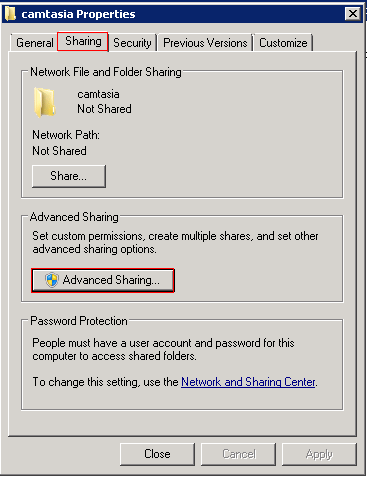
Right-click the camtasia folder and choose Properties. On the Sharing tab, click Advanced Sharing.
-
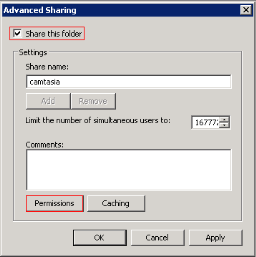
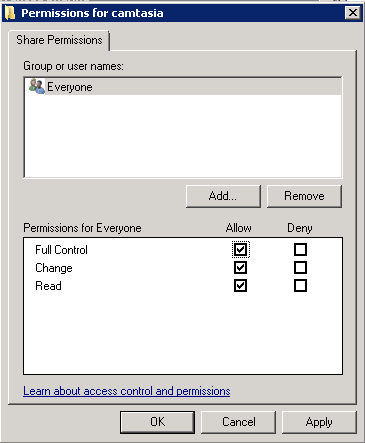
Check the box for Share this folder. Leave Share name set to camtasia and click the Permissions button.
-
Select the group Everyone and click OK.
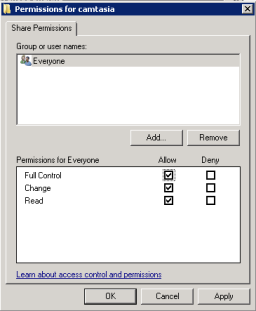
This does not give everyone access to the Camtasia directory because access is based on the security permissions set for the folder.
-
Click OK twice in the Advanced Sharing window to get back to the Properties window.
-
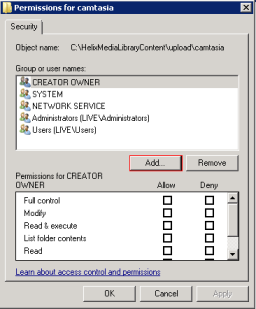
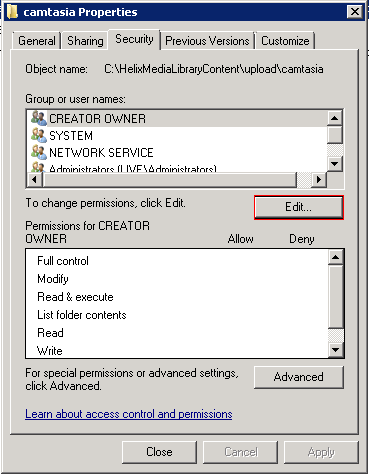
On the Security tab, click the Edit button.

-
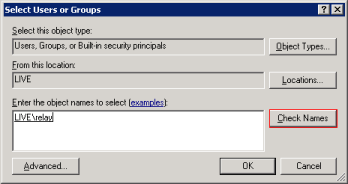
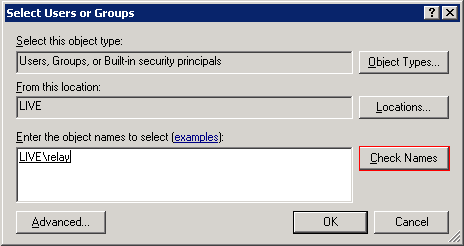
Click Add and enter the name of the Relay account created earlier.
-
Click Check Names. The account will be found and underlined. Click OK.
- Ensure that the account has the Read & Execute permission as the minimum and click OK.
- At the main Properties screen, click close.


Configure MEDIAL
To ensure that the recordings are ingested by the media library, the library needs to be configured to watch the Camtasia directory.
To configure MEDIAL to use the Camtasia directory:
-
Log on to the media library as an administrator and go to the Upload site, then click Content Ingest.

-
Expand the Camtasia Relay accordion and check that the name of the Camtasia folder in the upload directory is showing for the Source Folder Name, which will be Camtasia by default.
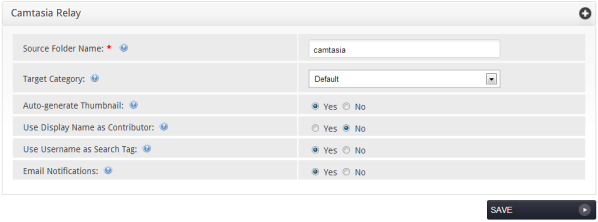
- Ensure that a target category is set, and set the other options accordingly.
-
Click Save.


For additional configuration information, refer to Content Ingest.
TechSmith Relay Installation
The following procedure explains how to install TechSmith Relay.
Before running the installer, ensure that the SSL certificate has been imported into Internet Information Services Manager. The installer will check for this as the beginning of the installation.
To install TechSmith Relay:
-
Start the installer. At the welcome screen click Next.
-
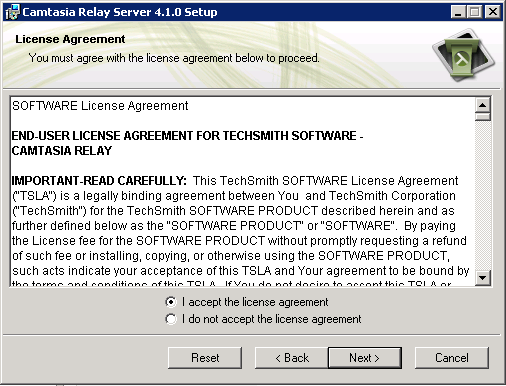
Read and accept the license agreement. Click Next.
-
Enter a name and organization for the software. Click Next.
-
At the next screen you have the option to perform an express or an advanced installation.
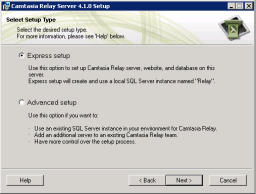
- Choose Express setup if you are hosting the Relay server website and database locally.
-
Choose Advanced setup if you want to use an SQL server instance for the database.
This topic covers the express installation.
-
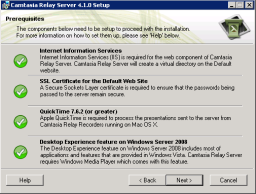
The next screen shows if all of the prerequisites have been met. If any prerequisites have red crosses instead of green checkmarks, rectify the issues before continuing. Click Next when ready.
-
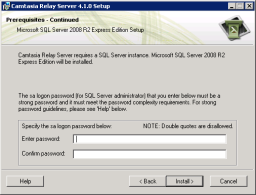
Give the installer a password for the sa account that will be used for the SQL Express installation. Click Next.
-
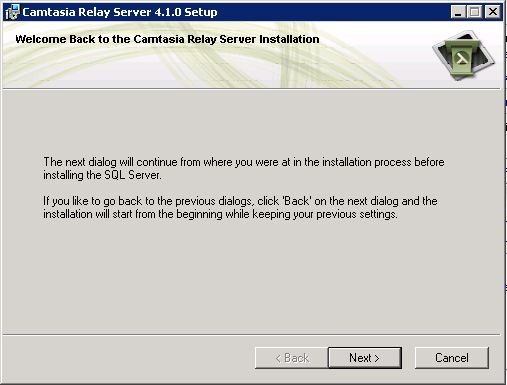
After the SQL server is installed, you will see a "welcome back" screen. Click Next.

-
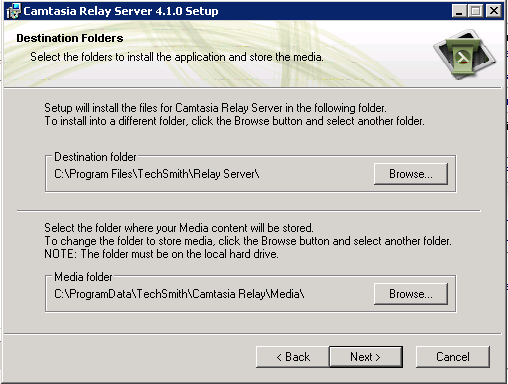
Select the desired locations for the installation and the media. Click Next.

-
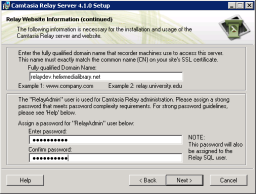
Enter the fully qualified domain name, which should match the common name of the SSL certificate. Assign a password for the RelayAdmin user and click Next.
-
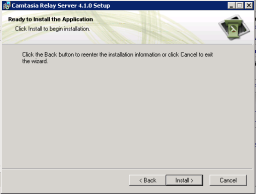
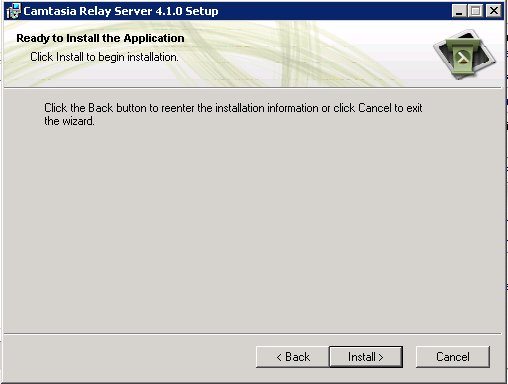
Click Install to install the Relay server.
-
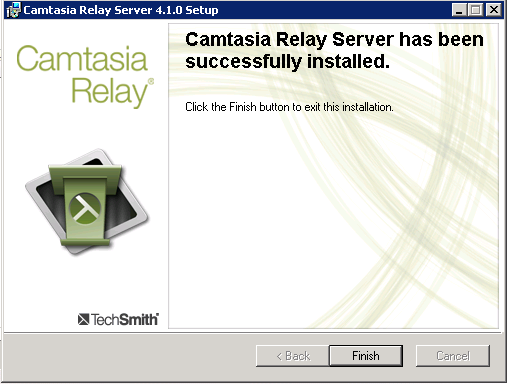
When the installation is complete, click Finish to exit the wizard.


Relay Server Configuration
Follow the next procedure to configure TechSmith Relay server for use with MEDIAL.
To configure TechSmith Relay server:
-
Open a browser and navigate to the TechSmith Relay site, for example:
https://relay.institution.ac.uk/relay
-
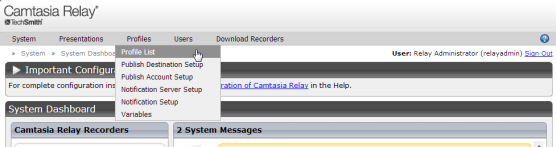
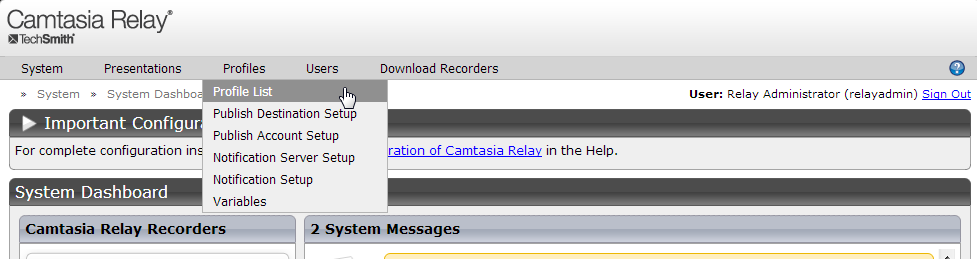
Log in with the relayadmin account that you created the password for earlier. Click Profiles and then select Profile List.
-
Click the green plus sign to add a profile.

-
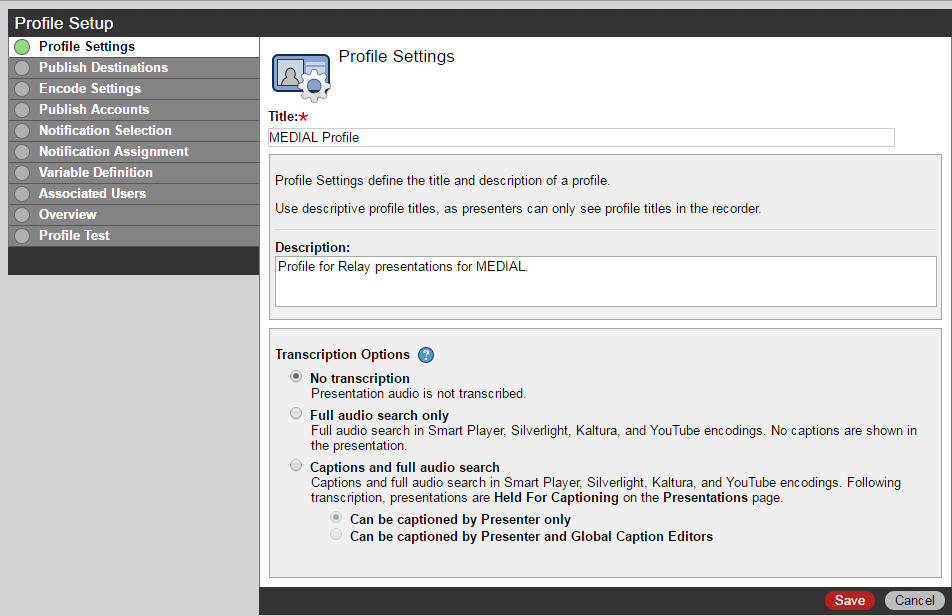
Give the profile a name and description. Leave the transcription options set to No transcription. Click Save.

-
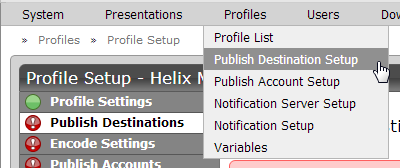
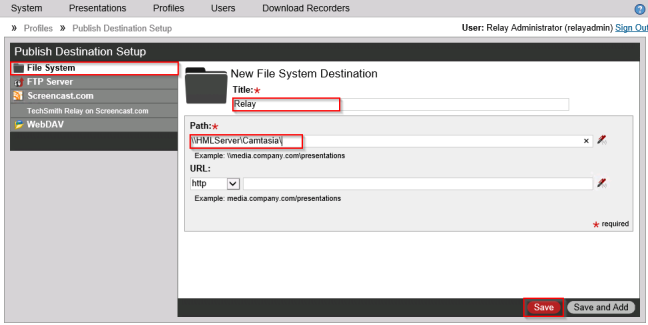
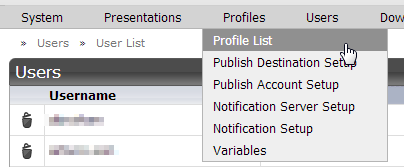
Go up to Profiles on the main menu and click Publish Destination Setup.
-
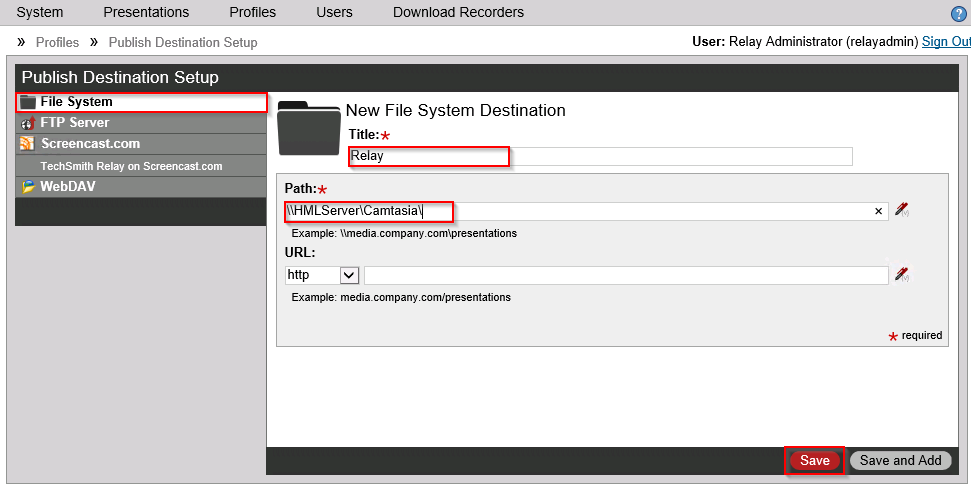
Click File System on the left, and add a new File System Destination. Give the file system destination a name, then enter the path to the Camtasia file share on the media library server. Click Save.
-
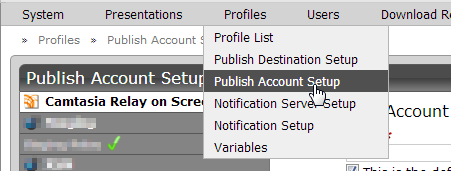
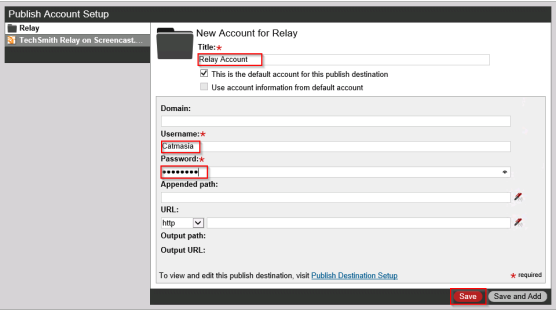
From the top menu, click Profiles and select Publish Account Setup.
-
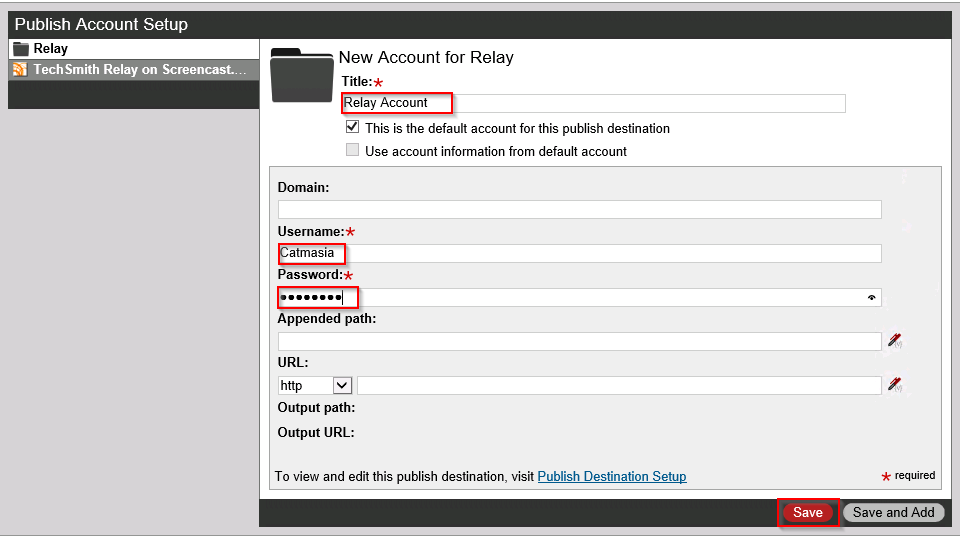
Enter the account information that will be used to connect to the Camtasia file share on the media library server and give the account a name. Click Save.
-
From the top menu click Users and select User List.

-
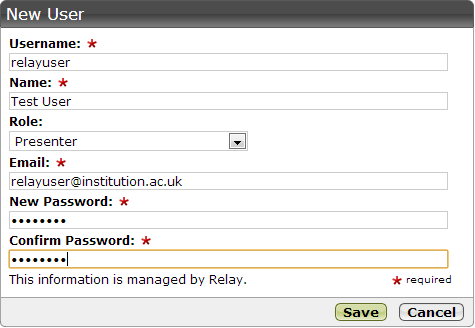
Using the green plus button, create a new user.

-
Create the user account and click Save.
-
From the top menu, click Profiles and select Profile List.
-
Select the profile that has just been created.

-
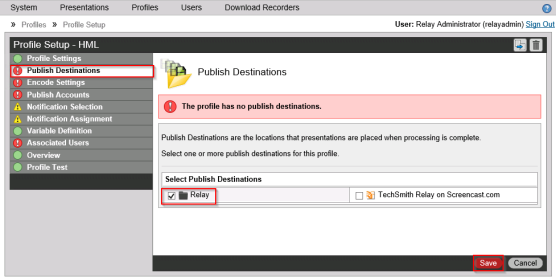
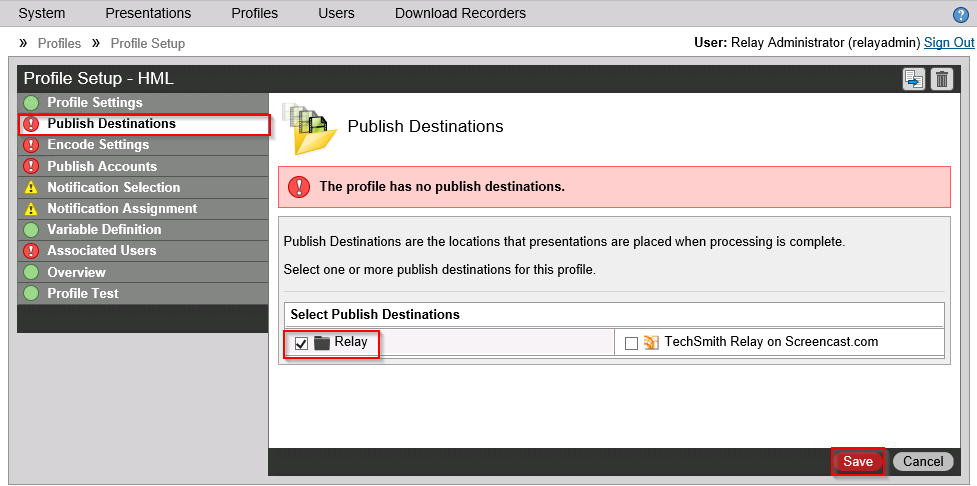
From the menu on the left-hand side, click Publish Destinations. Select the publish destination created previously and click Save.
-
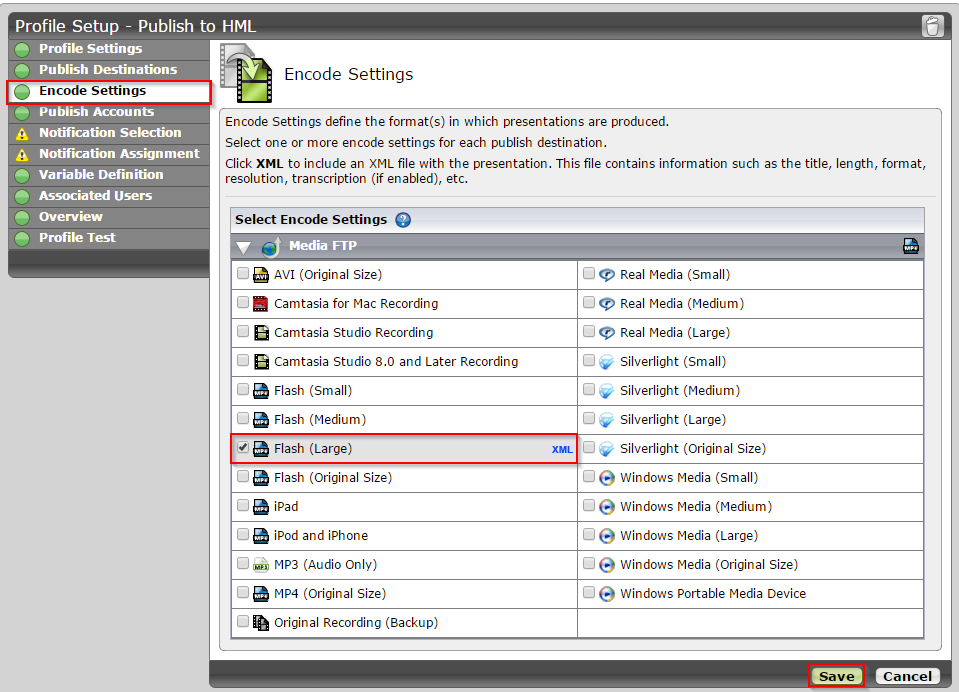
On the left-hand side, click Encode Settings. Click on the Flash (Large) encoding profile and then click the XML button that appears. Click Save.

-
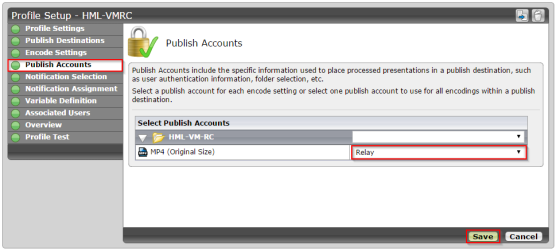
On the left-hand side, click Publish Accounts. Select the publish account that was previously created from the drop-down box. Click Save.
-
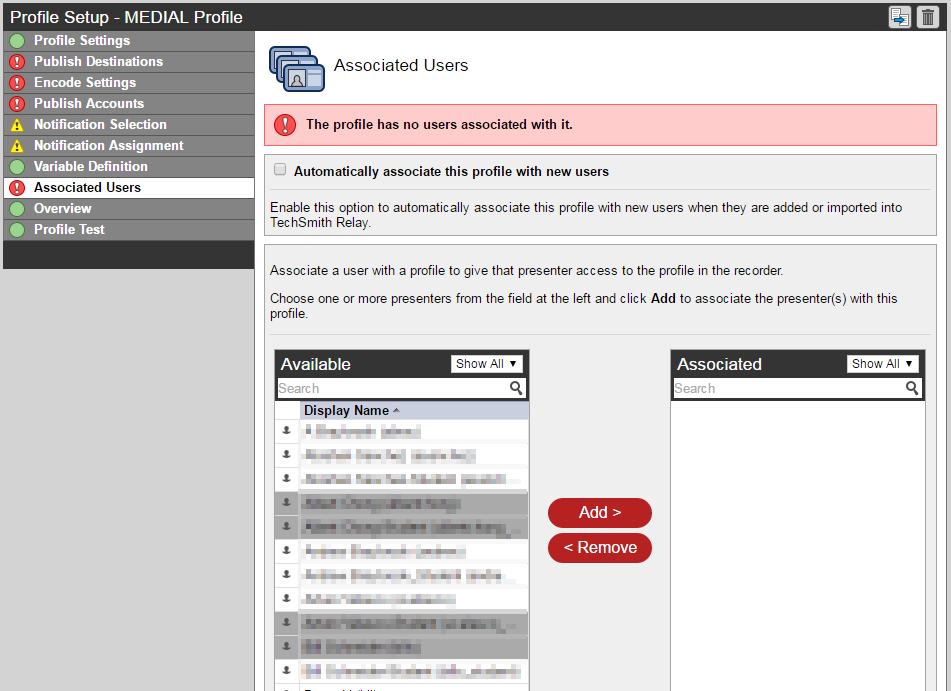
Click Associated Users on the left-hand side. In the Available list, click on the user previously created and click Add. That user will be associated with this profile. When they log in, they will be able to download the recorder that is linked with the Relay server. Click Save.

Because the TechSmith Relay server has been set up to publish the recordings to the media library Camtasia file share, MEDIAL will ingest and encode the recordings. When the recordings have been encoded successfully, the media library will send an email notification to the user who made the recording. There is therefore no need to set up notifications for the profile on the Relay server.


Port Binding
Before performing a test recording, the Relay site needs to be given a binding on port 80 so that it can accept uploads from recorder clients.
To create a port binding:
-
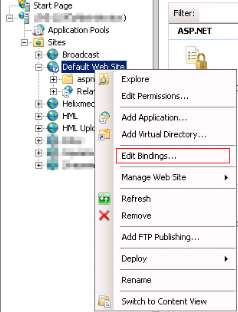
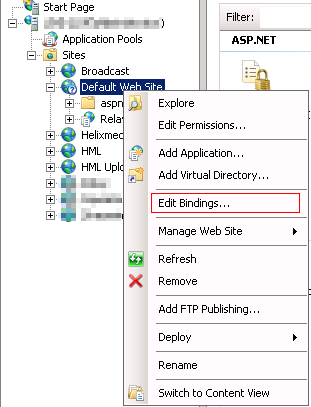
Open IIS Manager and locate the site (Default Web Site by default) that the Relay application is running under. Right-click the web site and choose Edit Bindings.
-
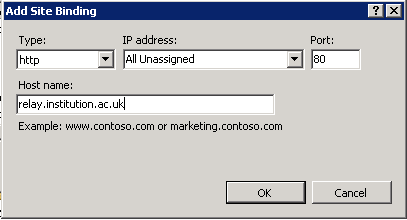
In the Site Bindings window, click add, and create a new http binding for the name of the relay server. The IP address can be changed to that of the Relay server or left to All Unassigned as desired.

- Click OK to close the Site Bindings window.

|
©2025 Streaming Ltd | |